
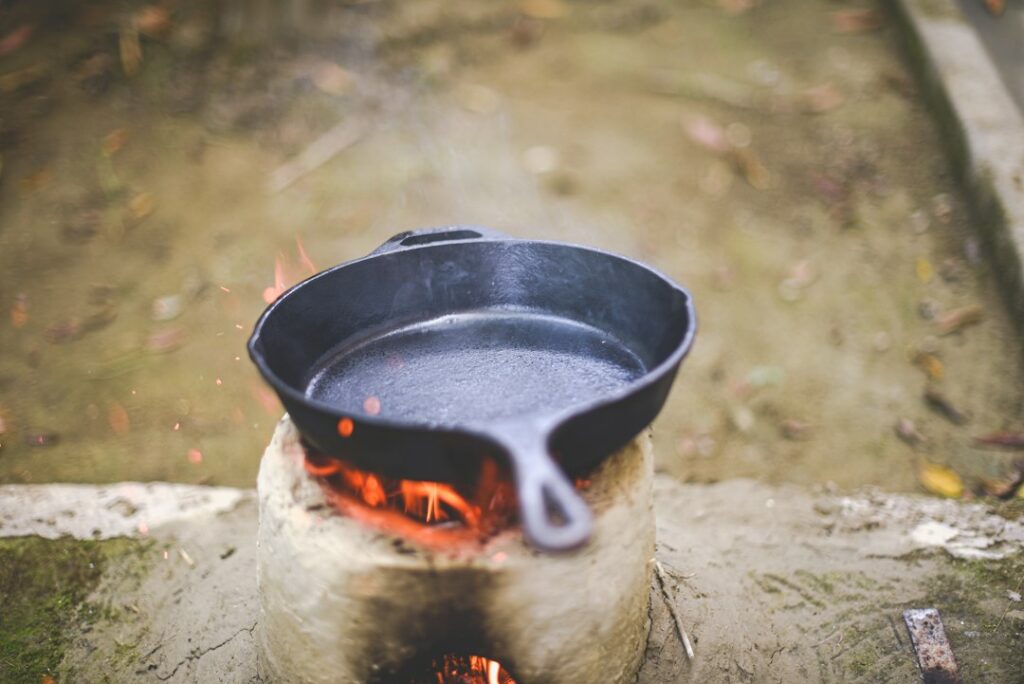
Nothing beats the satisfaction of mastering cast iron skillet cooking in your own kitchen, and this guide shows you how to do it step by step without fuss or mystery.
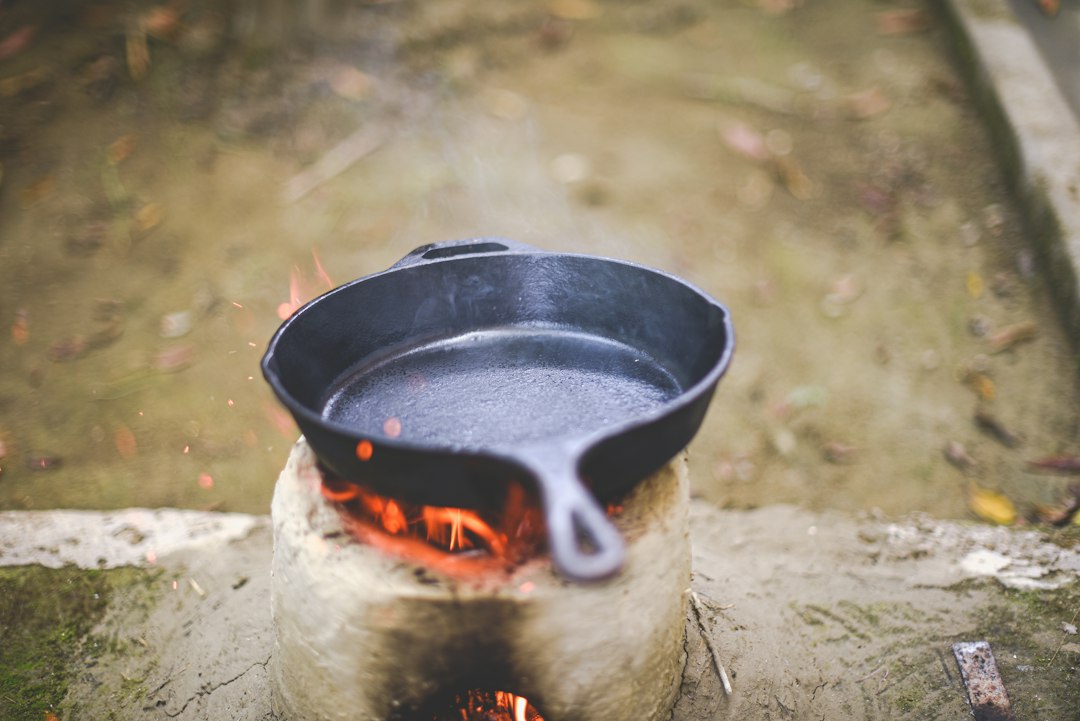

Why cast iron still matters for home cooks
There’s a reason professional chefs and home cooks alike reach for cast iron. It’s durable, naturally slick when cared for, and incredibly versatile. You can sear a steak, roast chicken thighs, bake cornbread, pan-roast vegetables, or slide the whole skillet into the oven to finish a frittata. In a single tool you get stovetop-to-oven convenience, steady heat, and a surface that becomes better with use.
Cast iron shines because of two qualities: heat retention and resilience. The metal is thick and heavy, so once it’s hot it stays hot, which is perfect for browning and searing. That same mass smooths out temperature swings when you add cold food. Put simply, the skillet gives you a buffer against mistakes. Even if your burner runs a touch cool or your timing isn’t perfect, the pan keeps doing what it’s supposed to do.
There are trade-offs. Cast iron is heavier than aluminum or stainless steel. It takes longer to preheat. It doesn’t love long soaks or the dishwasher. But those constraints are manageable with a few habits you’ll learn below. Many cooks find that the payoff—consistent browning, deep flavor, and a lifetime tool—more than compensates.
One last myth to dismiss before we begin: cast iron is not fragile. It’s robust. Yes, you’ll follow some care basics, but it’s not a glass ornament. You can wash it, you can scrape it, you can cook tomatoes in it, and you can fix most mistakes with a little oil and heat.
Understanding the metal: how cast iron behaves on heat
Cast iron’s heat behavior sets the tone for how you cook with it. It warms more slowly than thin pans, and it distributes heat more evenly once it comes to temperature. These properties drive three rules that make daily cooking easier:
- Preheat gradually. Give the pan time. Start on medium or medium-low, let the heat build for 5–8 minutes, and add a tiny drop of water—if it skitters and evaporates within a second or two, you’re near searing temperature.
- Use oil to bridge the gap. Even a well-seasoned pan benefits from a light film of oil. It fills microscopic pores, helps develop crust, and reduces sticking.
- Adjust by sound and smoke. A gentle sizzle means you’re in the zone. Loud spattering or visible smoking tells you to lower the heat or pull the pan off the burner briefly.
Think of cast iron as a thermal battery. Once you’ve charged it with heat, it releases energy steadily. That’s why it’s ideal for searing and for recipes where the food sits in a single layer. It’s also why you don’t need to blast the burner—medium heat in cast iron often equals high heat in lighter pans.
For newer cooks, the big insight is patience. Preheating the pan properly and letting food release naturally (instead of prying it up too early) solves most sticking and uneven browning. Great results flow from that combination.
Choosing your first skillet: size, weight, and finish
Most home cooks do best starting with a 10-inch or 12-inch skillet. A 10-inch fits two steaks or four chicken thighs; it’s lighter and easier to manage. A 12-inch gives you extra surface area for family meals and one-pan dinners, but it weighs more and needs a larger burner. If you’re often cooking for one to two people, the 10-inch is a friendly starting point; for three or more, the 12-inch is worth it.
Beyond size, you’ll see differences in finish and price. Traditional castings have a slightly pebbled interior that smooths over time as seasoning builds. Some premium brands machine-grind the cooking surface for a glassy feel from day one. Both work; the smoother surface can feel nonstick faster, but a standard finish catches up with consistent use and proper care.
Weight varies among brands. Lighter cast iron is easier to handle but may sacrifice a bit of heat retention. Heavier pans excel at searing but ask more of your wrists. If possible, hold the pan before buying to gauge comfort, and look for a helper handle opposite the main grip—this makes carrying, pouring, and oven transfers safer.
One more factor is the pan’s walls and edge profile. Slightly sloped sides make tossing vegetables easier and give you room to slide a spatula under proteins. Taller, straighter walls offer more volume for shallow frying and braises. You can’t go wrong either way, but matching the profile to your most common dishes pays off.
Seasoning basics: what it is and how to build it
Seasoning is a thin, baked-on layer of polymerized oil that bonds with the iron. It’s not just a gloss; it’s a protective skin that becomes slicker the more you use the pan. Think of it as a clear, durable jacket you’re adding in micro-thin layers. Each time oil is heated past its smoke point and allowed to cool, it forms more of this layer.
Here’s a reliable, low-drama routine to build and refresh seasoning at home:
- Wash and dry. If the skillet is new or dusty, wash it with warm water and a bit of mild dish soap, scrub with a sponge or chainmail if needed, rinse, and dry thoroughly. A quick minute on a warm burner helps drive off any remaining moisture.
- Apply a whisper of oil. Use a high-heat oil (more on options later). Add about half a teaspoon for a 10-inch skillet. Wipe it around with a paper towel until the surface looks dry and satiny—no visible puddles or streaks.
- Heat in the oven. Place the pan upside down on the middle rack of a 450–500°F (230–260°C) oven. Put a sheet of foil on the lower rack to catch any drips. Bake for 60 minutes.
- Cool slowly in the oven. Turn off the oven and let the pan cool inside for another 45–60 minutes. This controlled cooldown helps the oil set hard.
- Repeat 2–3 times for brand-new pans. You don’t need a dozen coats. Two or three good cycles build a reliable base. After that, cooking fatty foods (like chicken thighs) continues the process naturally.
Two common mistakes derail seasoning: using too much oil and rushing the process. Thick oil pools and forms sticky patches that flake later. Keep each coat whisper-thin and be patient with the bake and cooldown. If a spot stays tacky, wipe it with a bit of oil and heat the pan on the stovetop over medium until it darkens and smooths.
Finally, don’t treat seasoning like a fragile museum finish. It’s durable. Over time, you’ll add and subtract microscopic layers with normal cooking. Your only job is to keep the surface clean and lightly oiled, and to avoid long soaks that invite rust.
cast iron skillet cooking: core principles that prevent sticking
Most sticking comes from two things: insufficient preheat and moving food too early. Adopting a few core practices eliminates both problems and builds confidence.
- Warm up the pan fully. Place it over medium heat for 5–8 minutes. Add a teaspoon of oil. When the oil shimmers and slides like thin water, you’re ready.
- Dry your food well. Moisture is the enemy of browning. Pat meat, fish, and tofu dry with paper towels. For vegetables, spin or blot after washing.
- Lay food and leave it. Set the protein down gently and let it sear. It will stick at first, then release on its own after the crust forms. Use a thin metal spatula and test a corner after 2–3 minutes. If it resists, give it another minute.
- Manage heat by results, not numbers. Burners and pans vary. If you see smoke quickly or the oil smells harsh, reduce the flame. If there’s no sizzle, nudge it up. Listen and watch; your senses are the best thermometer.
- Finish thick cuts in the oven. After searing a thick steak or bone-in chicken, slide the skillet into a 375–425°F (190–220°C) oven to finish gently. This avoids scorching and keeps the crust intact.
These habits turn cast iron into a forgiving platform rather than a fussy tool. With practice, you’ll rely less on timers and more on cues: the aroma when crust forms, the feel of a spatula under a golden edge, the way a burger releases when it’s ready to flip.
Maintenance made simple: daily cleaning and rust control
Cleaning cast iron takes minutes when you do it right after cooking. Here’s a no-nonsense routine you can stick to:
- Wipe, then rinse. While the pan is warm (not blazing hot), wipe out residual oil and bits. If needed, run a splash of hot water into the pan and scrape lightly with a nylon brush or a metal spatula.
- Use soap if needed. A little mild dish soap won’t wreck seasoning. If your pan is greasy or smells fishy, add a drop to your sponge, scrub, and rinse. The key is to dry and re‑oil promptly.
- Dry completely. Set the pan over low heat for a minute or two. This evaporates hidden moisture, which is crucial for preventing rust.
- Oil lightly. Dab a few drops of oil on a paper towel and wipe the warm surface until it looks dry and satiny. This micro-layer protects the iron and refreshes the sheen.
If rust appears, don’t panic. It’s superficial. Scrub the area with steel wool or a scrub pad until the orange dust disappears, rinse, dry over heat, and apply a thin coat of oil. If rust is extensive, repeat the initial oven-seasoning cycle. Cast iron’s great advantage is its repairability—almost any mistake is reversible.
Reserve long soaks and harsh scouring for rare, stubborn messes. Even then, your next move is the same: dry thoroughly and add a whisper of oil. That habit keeps the surface stable and stops rust before it starts.
Heat management: searing, sautéing, shallow-frying, and baking
The heart of cast iron technique is knowing how to match heat to the task and when to hand off to the oven. Use these patterns as templates you can reuse with different ingredients:
- Hard sear for steaks and chops. Preheat to medium-high. Add a thin film of high-heat oil. Sear 2–3 minutes per side for thinner cuts; thicker cuts get a hard sear and oven finish at 400°F (205°C). Rest before slicing.
- Pan-roast vegetables. Preheat on medium. Add oil, then vegetables in a single layer. Don’t stir immediately. Let one side brown, then toss occasionally until tender. Finish with a pinch of salt and a splash of vinegar or citrus.
- Shallow-fry cutlets and fritters. Add 1/4 inch (6 mm) of oil to the preheated pan. Fry over medium heat, turning once, until deeply golden. Maintain gentle bubbling; if it roars, lower the heat.
- Oven finish for frittatas and cornbread. Start on the stovetop to set edges, then transfer to a 350–425°F (175–220°C) oven. The skillet’s mass helps bake evenly without hot spots.
Remember to give the pan breathing room. Overcrowding drops the temperature and steams food rather than browning it. When feeding a crowd, cook in batches and hold finished pieces on a rack in a low oven. The result is better than forcing everything into one round.
Starter recipes and timing cues you can trust
Use these reference recipes to calibrate your timing, heat, and expectations. They’re intentionally simple yet rewarding, built to teach you the rhythms of cast iron.
Weeknight steak with pan juices
- Preheat the skillet on medium-high for 6–8 minutes. Pat a 1-inch (2.5 cm) steak dry and season generously.
- Add 1 teaspoon oil. Sear 2 minutes; flip; sear 1–2 minutes more. Lower heat to medium. Add a knob of butter and a crushed garlic clove; baste 30 seconds.
- Check doneness with a thermometer (125–130°F/52–54°C for medium-rare). Rest 5 minutes. Deglaze the pan with a splash of stock or wine and a teaspoon of mustard; reduce 1 minute; spoon over steak.
Cast iron cornbread
- Heat oven to 425°F (220°C). Warm the skillet in the oven with a teaspoon of oil.
- Mix 1 cup cornmeal, 1 cup flour, 1 tablespoon sugar, 1 tablespoon baking powder, 1/2 teaspoon salt, 1 cup milk, 1 egg, and 1/4 cup melted butter.
- Carefully pour batter into the hot, oiled skillet. Bake 18–22 minutes until golden and springy.
Roasted potatoes with crisp edges
- Preheat oven to 425°F (220°C). Heat skillet over medium with 2 tablespoons oil.
- Toss 1–1.5 pounds (450–700 g) potatoes (cut to 1-inch pieces) with oil, salt, and pepper. Add to skillet, let sit 5 minutes without stirring for a crust to form.
- Transfer to oven and roast 20–25 minutes, turning once, until browned and tender.
Quick-sizzle vegetables
- Heat the skillet on medium with a teaspoon of oil. Add sliced zucchini or mushrooms in a single layer.
- Let color develop, flip or toss, season, and finish with a squeeze of lemon. Aim for 5–7 minutes total.
These recipes aren’t about perfection; they’re about learning. Note the sounds and smells, how long it takes to brown without burning, and how the pan behaves in your kitchen. After two or three rounds, you’ll be adjusting by instinct.
Oil choices and smoke points: what to use and why
For high-heat searing and initial seasoning, pick oils with higher smoke points. Refined avocado oil, grapeseed oil, peanut oil, and canola oil are reliable, neutral choices. They tolerate heat and polymerize into durable layers. For daily cooking, you can also use light olive oil or clarified butter (ghee) depending on flavor goals.
Smoke point is a guideline, not a rigid line. Fresh oil with fewer impurities smokes later than old oil. Thin coats smoke less than thick films. When seasoning in the oven, follow the thin-coat method so the oil sets without dripping or turning sticky. For searing, watch and listen: if oil smokes aggressively, lower the heat slightly; if there’s no sizzle, increase it.
Flavor matters too. Neutral oil keeps the skillet’s seasoning clean and versatile. If you love the taste of browned butter on vegetables or steak, add a little butter near the end, baste, and let it foam briefly. This approach captures flavor without subjecting the butter’s milk solids to long high heat.
From stovetop to oven and grill: making transitions safe and smooth
One of cast iron’s best features is its oven- and grill‑friendliness. That flexibility expands what you can cook and how you finish dishes. Here’s a simple framework:
- Stovetop to oven. After searing, slide the skillet into a 350–450°F (175–230°C) oven to cook through gently and evenly. Use a thermometer for precision, and set a timer to avoid overshooting.
- Oven to stovetop. For cornbread or frittatas, preheat the pan in the oven, then move to the stovetop to add batter or sauté aromatics. Be mindful: the handle is hot. Keep an oven mitt on the handle as a visual cue.
- Grill or campfire. Cast iron thrives on grills and over coals. Place the pan directly on the grates for smoky vegetables or seared fish. Avoid sudden shocks (like placing a blazing-hot pan on a cold, wet surface) to minimize thermal stress.
Always assume the handle is hot. A consistent habit—like sliding a silicone sleeve on as soon as you preheat—prevents burns. And when moving a loaded skillet, use two hands: one on the handle, one under the helper grip.
Troubleshooting: fixing sticking, flaking, odors, and off flavors
Even with good habits, hiccups happen. Here’s how to diagnose and correct the most common issues:
- Sticking after a flip. You likely moved too soon or the pan wasn’t hot enough. Next time, preheat longer and wait for natural release. Meanwhile, gently slide a thin metal spatula under the crust and pry carefully—don’t force it. Finish cooking and practice patience on the next batch.
- Sticky patches or flaking seasoning. Thick oil coats can gum up and then flake. Strip the sticky area with hot water and a scrub pad; dry; re‑season with very thin coats, baked fully. If flaking is widespread, run a full oven-seasoning cycle.
- Rancid smell. Excess oil left on the surface can oxidize and smell off. Wash with soap, rinse, dry over heat, and wipe on a whisper of fresh oil. Regularly heating the pan to cooking temperatures also neutralizes odors.
- Metallic taste or gray marks on food. That’s usually fresh, incomplete seasoning. Keep cooking fattier foods for a week to build layers, or run one oven-seasoning pass to stabilize the surface.
- Rust spots. Scrub to bright metal, dry over heat, and oil lightly. Rust is superficial unless the pan has been neglected for a very long time.
If you ever feel lost, revisit the basics: dry food, preheated pan, thin oil, minimal movement, and patient flipping. Those five anchors solve almost everything.
Cleaning myths, debunked (soap, deglazing, and tools)
The internet brims with cast iron commandments, many of which discourage useful techniques. Here’s what you can safely do:
- Soap is fine. Mild dish soap won’t strip well-baked seasoning. It removes surface grease and fishy odors. The key is thorough drying and a light re‑oil afterward.
- Deglaze like a pro. After searing, pour off excess fat, add a splash of stock, wine, or water, and scrape up the browned bits for a quick pan sauce. This is safe and delicious. Dry the pan afterward and oil lightly.
- Metal tools are allowed. Thin metal spatulas are some of the best tools for cast iron. They lift and release beautifully, especially for smash burgers or fish. Avoid scratching by using a flat edge and a gentle hand. If a small scratch appears, cooking will re‑season it.
- Tomatoes and acids are okay in moderation. A quick tomato sauce or a lemony pan sauce won’t ruin seasoning. Prolonged simmering of acidic foods can dull the surface; balance it with neutral dishes and light re‑seasoning when needed.
Strip away the myths and you get freedom. Cast iron is fundamentally tough. Use reasonable care and it will reward you with decades of service.
Advanced projects: bread, pizza, desserts, and campfire cooking
Once you’re comfortable with searing and pan-roasting, cast iron opens doors to projects that feel special without requiring special equipment.
Skillet bread and pizza. For bread, preheat the pan in a hot oven, add dough, cover with a heatproof lid or inverted sheet pan for the first 15 minutes, then finish uncovered. For pizza, oil the skillet lightly, press in dough, top sparingly, and bake at 475–500°F (245–260°C) until the crust crisps and cheese blisters. The skillet’s heat retention gives bread and pizza a sturdy base and crackling edges.
Fruit crisps and cobblers. Cast iron is perfect for fruit desserts. Toss fruit with a little sugar, cornstarch, and citrus; top with oat streusel or biscuit dough; and bake until bubbling. The metal browns the topping beautifully.
Campfire cooking. On coals, cast iron becomes a rugged, reliable partner. Think breakfast hash, charred corn, or fish fillets. Bring a wooden spoon, a metal spatula, and a small bottle of oil. Keep a dedicated camp rag for wiping and an oven mitt for safety. After cooking, wipe, rinse if you can, dry over the fire’s edge, and oil lightly. The pan will tell your travel stories with every new patina layer.
These projects teach different heat skills and expand your comfort with transitions from stovetop to oven, or from coals to table. They also remind you that cast iron isn’t just for searing; it’s a flexible, all-season tool.
Gear that helps: scrapers, spatulas, thermometers, and storage
You don’t need a closet of gadgets, but a few tools make cast iron life easier and safer:
- Thin, flexible metal spatula. Essential for smash burgers, fish, and delicate flips. The flexibility lets you slide under crust without tearing it.
- Bench scraper or pan scraper. Handy for stuck-on bits after cooking; use it while the pan is still warm.
- Silicone handle sleeve or oven mitt. Keep one on the handle as a visual reminder that the pan is hot.
- Instant-read thermometer. Removes guesswork. Use it for steak, chicken, and thick cuts to hit your preferred doneness.
- Paper towels and a small bottle of high-heat oil. Keep them near the stove for quick wipe-and-oil sessions.
- Rack or open storage. Store the skillet dry and with a little airflow. If stacking, place a paper towel between pans to absorb moisture.
These are simple upgrades, not must-haves. Start with what you have, then add tools as specific needs arise. Cast iron rewards consistency more than gear.
Checklists and quick references for everyday use
Clarity speeds learning. Print or screenshot these one‑page references and keep them near your stove.
Daily cooking checklist
- Preheat 5–8 minutes on medium.
- Add a thin sheen of high-heat oil.
- Pat food dry; season just before it hits the pan.
- Lay food and leave it until it releases.
- Flip once, finish on the stove or in the oven.
- Rest proteins; deglaze for a quick sauce.
- Wipe, rinse, dry over heat, light re‑oil.
Seasoning refresh (oven)
- Wash and dry thoroughly.
- Wipe on a whisper-thin coat of oil.
- Bake upside down, 450–500°F (230–260°C), 60 minutes.
- Cool in the oven 45–60 minutes.
- Repeat 2–3 times for new pans or stubborn spots.
Heat guide
- Low: keep sauces warm, melt butter, gentle eggs.
- Medium: sauté vegetables, pan-roast, finish delicate fish.
- Medium-high: sear steak, brown chicken, crisp potatoes.
- Oven: finish thick cuts, bake cornbread, roast vegetables.
If you want even more kitchen technique guides and recipe ideas, explore the resources at Healthy Cooking Hub for a growing library of practical, test‑kitchen style advice you can trust.
Your first 30 days with cast iron: a simple practice plan
Skill builds with repetition. The following week-by-week plan focuses on everyday meals so you can build seasoning and confidence at the same time:
- Week 1: Vegetables and eggs. Pan-roast zucchini, mushrooms, or broccoli. Make a simple frittata or shakshuka. Focus on preheat and gentle movement.
- Week 2: Proteins. Try chicken thighs and quick-seared pork chops. Finish in the oven. Practice using your thermometer.
- Week 3: Starches. Crisp potatoes and cook skillet cornbread. Learn how oil quantity and heat affect browning vs. burning.
- Week 4: A celebration dish. Make steak night or a skillet pizza. Tie together all your heat management skills.
Keep notes. Jot down burner settings, times, and outcomes for your stove and your pan. Little logs shorten the learning curve and give you a head start next time.
By the end of this plan you’ll have a reliable base of seasoning and, more importantly, a clear mental model of how the skillet behaves. That combination lets you pivot to almost any everyday recipe with ease.
Putting it all together: confidence without complication
Cast iron rewards care with resilience and flavor. You don’t need boutique oils or complicated rituals—just a steady routine and attention to cues. Start with a comfortable pan size, preheat patiently, keep food dry, listen for the right sizzle, and clean while the pan is still warm. The more you use it, the better it performs. The small rituals become muscle memory, and the skillet becomes the one you reach for without thinking.
When in doubt, remember the fundamentals you’ve practiced. Heat slowly, oil lightly, move food sparingly, and finish in the oven when thickness demands gentler cooking. Those steps are the backbone of cast iron skillet cooking—and the reason your meals will taste better next week than they did this week. Keep cooking, keep noting what works on your stove, and let the pan’s patina—and your confidence—grow together.